Is your home’s interior looking a bit tired? Maybe those walls have seen better days, with scuffs and fading that no amount of cleaning can fix. You’re not alone. Many Southern New Hampshire homeowners are discovering that a fresh coat of paint can completely transform their living spaces—but only when done right.
At Honest Brothers Painting, we’ve seen firsthand how proper preparation makes all the difference between a paint job that looks amateur and one that looks professional. When you prepare for interior painting correctly, your results will last longer and look significantly better.
Why Preparation Matters in Southern New Hampshire
New Hampshire’s unique climate presents special challenges for interior painting projects. Our humid summers and dry winters can affect how paint adheres to surfaces and how quickly it dries. Plus, with many historic homes in our region, there are specific considerations most painting guides don’t cover.
Did you know that homes built before 1978 likely contain lead-based paint? This is especially important in Southern New Hampshire where we have many beautiful historic properties. As of July 1, 2024, certain residential units and childcare facilities in pre-1978 buildings must have a Lead Safe Certificate prior to occupancy—a crucial regulation to protect families.
The Hidden Cost of Skipping Prep Work
Many homeowners make the mistake of rushing straight to painting, eager to see results. But skipping proper preparation almost always leads to:
- Paint that peels or bubbles within months
- Uneven color and texture
- Visible wall imperfections that show through the paint
- Shorter lifespan of your paint job
- Higher costs down the road for fixes and touch-ups
Essential Steps to Prepare Your Home
Step 1: Check for Lead Paint in Older Homes
If your Southern New Hampshire home was built before 1978, it’s crucial to test for lead paint before starting any painting project. This isn’t just about following regulations—it’s about protecting your family’s health.
- Purchase a lead testing kit from your local hardware store
- Test multiple areas, especially around windows and doors
- If lead is present, consider hiring a painter in Southern New Hampshire who’s EPA-certified for lead-safe practices
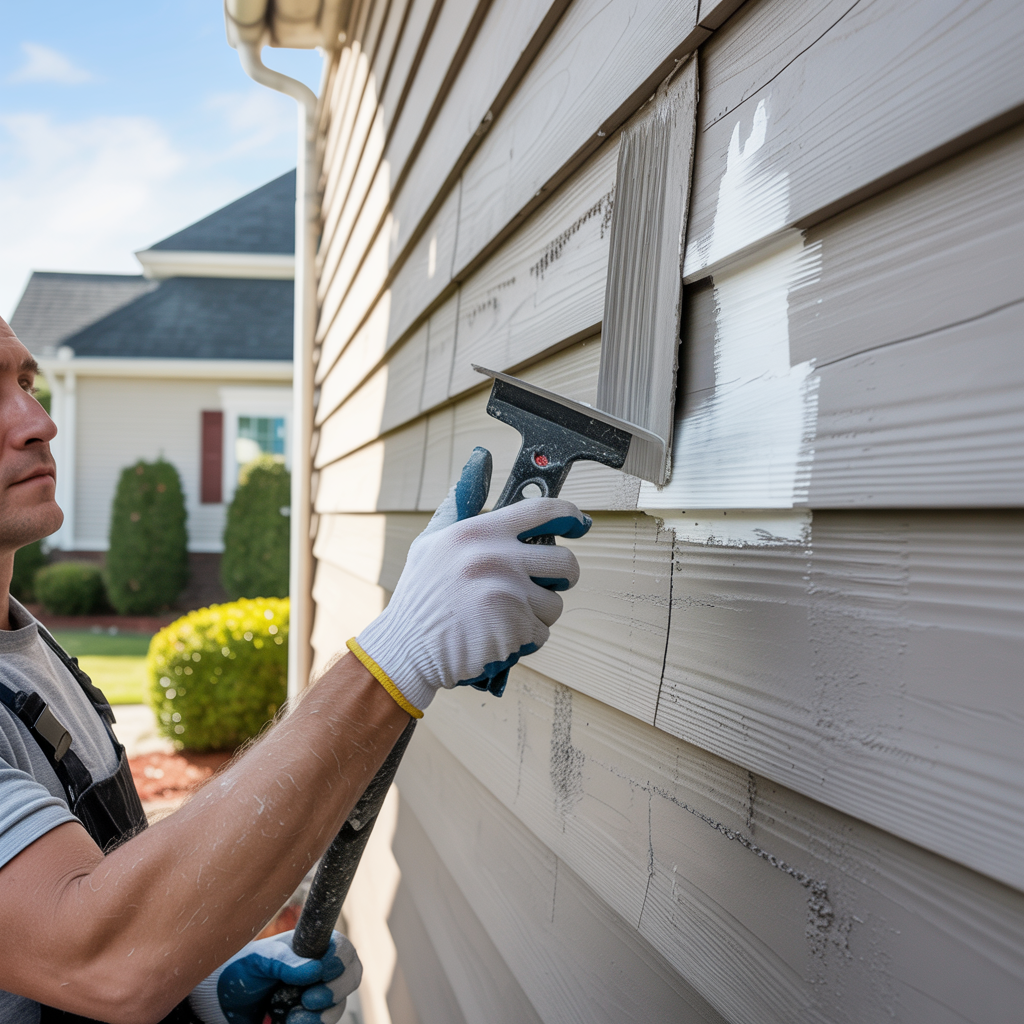
Step 2: Assess and Repair Your Surfaces
Before a single drop of paint touches your walls, you need to make sure they’re in good condition. Here’s what to look for:
- Water damage or stains (common in our humid climate)
- Cracks and holes in drywall or plaster
- Loose wallpaper or peeling paint
- Uneven surfaces or previous poor patch jobs
For small holes, the spackling compound works perfectly. For larger holes or cracks, you might need drywall tape and joint compound. Sand all repairs smooth once they’re dry.
Step 3: Clean Thoroughly
Our New Hampshire homes gather more dust and grime than you might realize. Paint won’t adhere properly to dirty surfaces, so cleaning is non-negotiable.
- Wash walls with a mild detergent solution
- Pay special attention to kitchens (grease) and bathrooms (mildew)
- Use a mold-killing solution in areas with moisture issues
- Let surfaces dry completely before moving to the next step
Tackling New Hampshire’s Humidity Challenge
Southern New Hampshire’s humidity creates unique challenges for interior painting projects. Moisture in the air can significantly impact drying times and paint adhesion.
Smart Solutions for High-Humidity Rooms
Bathrooms, kitchens, and basements typically have higher humidity levels. Here’s how to address these challenging spaces:
- Use a dehumidifier for 24-48 hours before painting
- Schedule painting during lower-humidity seasons when possible
- Choose moisture-resistant primers and paints
- Allow for extra drying time between coats
- Keep fans running and windows open when weather permits
Best Paint Types for Our Climate
Not all paints perform equally well in New Hampshire’s changing climate. For best results:
- Choose acrylic latex paints for most interior walls
- Select semi-gloss or satin finishes for bathrooms and kitchens
- Consider mildew-resistant formulations for problem areas
- Use quality primers that seal and block stains
Professional-Level Preparation Techniques
Want your DIY project to look like it was done by a pro? These techniques make all the difference:
Create a Perfect Canvas
- Apply painter’s tape with precision along trim, ceilings, and windows
- Use drop cloths that stay in place (canvas works better than plastic)
- Remove switch plates and outlet covers completely
- Take down curtain rods, pictures, and other wall fixtures
Prime for Success
Priming isn’t always necessary, but in these situations, it’s essential:
- When covering dark colors with lighter ones
- On new drywall or repaired surfaces
- When painting over oil-based paint with latex
- In high-moisture areas like bathrooms
- When covering stains or water damage
The Right Tools Make All the Difference
Having quality tools isn’t just about convenience—it directly affects your results:
Essential Tools Checklist
- Premium angled brushes for cutting in
- Microfiber rollers for smooth application
- 5-in-1 painter’s tool for scraping and opening cans
- Sanding blocks in various grits
- Quality painter’s tape (don’t buy the cheapest option)
- Canvas drop cloths (more stable than plastic)
- Extension poles for ceilings and high walls
Room-by-Room Preparation Tips
Different rooms present different challenges. Here’s how to handle them:
Living Room and Bedrooms
- Move furniture to the center of the room and cover completely
- Remove window treatments and switch plate covers
- Patch nail holes from artwork and photographs
- Caulk gaps between trim and walls for a seamless look
Kitchens and Bathrooms
- Deep clean walls to remove grease, soap scum, and mildew
- Use TSP (trisodium phosphate) for stubborn areas
- Apply mildew-resistant primer in moisture-prone areas
- Caulk around sinks, tubs, and backsplashes
Common Mistakes to Avoid
Even experienced DIYers sometimes make these errors:
- Skipping the cleaning step (crucial in our humid climate)
- Not allowing sufficient drying time between steps
- Using the wrong type of paint for the room’s conditions
- Applying paint too thickly
- Painting in poor lighting conditions
- Rushing the preparation phase
Seasonal Considerations for New Hampshire Painters
Timing can impact your paint project significantly:
Best Times to Paint Indoors
- Spring and fall offer moderate humidity levels and good ventilation opportunities
- Winter painting works well if you manage indoor humidity (especially with forced-air heating which can create very dry conditions)
- Summer projects require dehumidifiers and fans to manage moisture
Safety First: Protecting Yourself and Your Home
Proper preparation isn’t just about a better finish—it’s about safety too:
- Use proper ventilation (especially important in winter when windows stay closed)
- Wear appropriate respiratory protection
- Protect children and pets from fumes and dust
- Cover HVAC vents to prevent dust circulation
- Follow lead-safe practices for older homes
How to Tell If You’ve Prepared Properly
Before opening your first paint can, run through this quick checklist:
- Walls are clean, dry, and free of dust
- Repairs are complete and sanded smooth
- Trim gaps are caulked
- Primer has been applied where needed
- The room is properly protected
- You have adequate lighting to see your work
- Temperature and humidity are in acceptable ranges
When to Call the Professionals
While many homeowners successfully tackle interior painting projects, sometimes calling in professionals makes sense:
- For homes with lead paint concerns
- When extensive repairs are needed
- For vaulted ceilings and stairwells (safety issues)
- When time constraints are tight
- For specialty finishes and techniques
At Honest Brothers Painting, we believe everyone deserves a beautiful home—whether you DIY or hire help. Our mission extends beyond just painting; we’re committed to serving our community with excellence and integrity.
Transform Your Space, Transform Your Outlook
A freshly painted room does more than just look nice—it can transform how you feel in your home. The process of preparing your space properly is an investment in creating a home environment that brings joy and comfort through all of New Hampshire’s seasons.
We’re passionate about helping our neighbors create spaces they love. That’s why we take the time to share these tips, whether you hire us or tackle the project yourself.
FAQ: Interior Painting Prep in Southern New Hampshire
How long should I wait after cleaning the walls before painting?
Walls should be completely dry before painting—typically 1-2 hours in normal conditions, but possibly longer during humid summer days in Southern New Hampshire.
Do I really need to prime walls that are already painted?
If you’re making a dramatic color change, covering stains, or working with repaired areas, priming is essential. It’s also important when painting high-moisture areas like bathrooms.
How do I prepare walls that have wallpaper residue?
Remove all wallpaper and adhesive completely using a wallpaper scoring tool and removal solution. After removal, wash walls with TSP, rinse thoroughly, and allow to dry completely before priming with an oil-based primer.
What temperature is best for interior painting in New Hampshire homes?
The ideal temperature range is 50-85°F with humidity below 50%. In winter, keep rooms warm enough (at least 60°F) even overnight as paint cures.
Should I repair all nail holes or just the obvious ones?
For a truly professional finish, repair all holes, even tiny nail holes. They’ll be much more noticeable after painting if left unfilled.
As a local company deeply rooted in Southern New Hampshire, we understand the unique challenges our climate and housing stock present. We’re committed not just to beautiful painting but to making a positive impact in our community.
Whether we’re transforming your home or participating in mission work abroad, at Honest Brothers Painting, every project is an opportunity to plant seeds of kindness that extend far beyond the final coat of paint.